
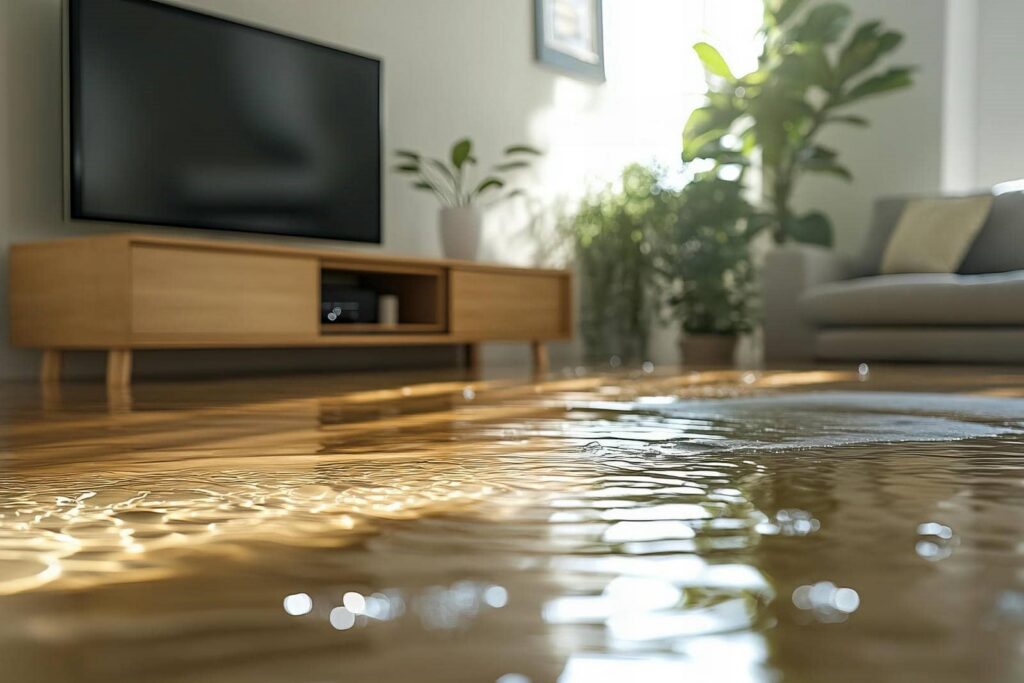
Imagine water pooling in your living room, threatening your belongings and safety. In such emergencies, knowing how to act quickly can save you time and money. You’ll need to assess the damage, shut off utilities, and utilize effective tools for water removal. Understanding these techniques is essential to mitigate risks and prevent further issues. Let’s explore the steps you can take to tackle this urgent situation efficiently.
Key Takeaways
Use sump pumps in the lowest areas to efficiently remove standing water from basements.
Employ wet/dry vacuums for quick extraction of water from floors and surfaces.
Position fans and dehumidifiers to enhance air circulation and expedite drying.
Utilize absorbent materials like towels to soak up excess water and minimize damage.
Create drainage pathways to redirect water away from structures and prevent flooding.
Identifying Water Damage: How to Assess the Situation?
How can you quickly identify water damage in your home? Start with visual inspections in areas like basements, ceilings, and walls.
Look for discoloration, peeling paint, or warped surfaces—these signs indicate potential water damage. Use water detection tools, such as moisture meters, to pinpoint hidden leaks.
Conduct a moisture evaluation by checking around appliances and plumbing fixtures, as these are common problem areas. Pay attention to musty odors; they often signal mold growth linked to water issues.
If you notice any soft or spongy spots underfoot, it’s a clear indication of moisture intrusion. By regularly evaluating these areas, you’ll stay proactive, ensuring your home remains safe and dry for you and your loved ones.
Shut Off Utilities for Safety During Water Removal
Before you begin any water removal process, it’s essential to shut off utilities to confirm your safety.
Start with utility disconnection—turn off the electricity at the main circuit breaker to prevent any electrical hazards. Water can conduct electricity, and standing water near outlets or appliances poses serious risks.
Next, disconnect gas lines if necessary, as flooding can compromise their integrity. Always follow manufacturer guidelines for your specific utilities to ensure a proper shutdown.
After utilities are secured, you can focus on the water removal process without the fear of electrical safety issues.
How to Effectively Use Sump Pumps for Water Removal
Using a sump pump can be one of the most effective methods for removing water from flooded areas in your home. To maximize its effectiveness, consider the following:
Choose the right sump pump types for your needs—submersible or pedestal.
Ensure proper sump pump placement in the lowest part of your basement.
Conduct regular sump pump maintenance to keep it functioning efficiently.
Enhance sump pump efficiency with accessories like backup batteries or alarms.
Learn sump pump troubleshooting techniques to address any issues promptly.
Use a Wet/Dry Vacuum for Quick Water Extraction
When faced with a flooded area, a wet/dry vacuum can quickly become your best ally in water extraction.
First, verify your vacuum is in top shape by performing routine wet/dry vacuum maintenance; check filters and hoses for blockages.
Next, employ effective vacuum suction techniques: start from the farthest point and work your way toward the exit to maximize efficiency.
Adjust the suction power based on the water level—lower for shallow areas and higher for deeper pools.
Once the bulk of the water is removed, use the vacuum’s attachments to reach tight spots.
This method speeds up the process and helps prevent mold growth, keeping your space safe and dry.
Effective Water Removal With Absorbent Materials: Towels and Mops
Tackle residual water with absorbent materials like towels and mops for effective cleanup. Choosing the right materials can greatly enhance your absorbent efficiency. Here’s what to take into account:
Material Selection: Opt for cotton or microfiber towels for maximum absorbency.
Mop Type: Use a sponge mop for larger areas, as it absorbs more water.
Layering: Stack multiple towels for increased absorption on stubborn spots.
Technique: Press down and twist to extract water effectively; don’t just wipe.
Regular Replacement: Change out saturated materials frequently to maintain efficiency.
Speed up Drying With Fans and Dehumidifiers
To accelerate the drying process after water removal, strategically placing fans and dehumidifiers can make a significant difference.
Position fans to create a cross-ventilation effect, directing airflow toward damp areas. Confirm they’re elevated to maximize air circulation.
Adjust dehumidifier settings to maintain ideal humidity levels, typically between 30-60%. This combination effectively reduces moisture in the air, speeding up drying time.
Run the fans continuously for the first 24-48 hours, then reassess the situation. If areas remain damp, keep the dehumidifiers running to extract excess moisture.
Remember, proper fan placement and dehumidifier settings are essential for efficient drying, ensuring your space returns to normal as quickly as possible.
Take these steps to restore comfort and safety in your environment.
Create Drainage Pathways to Redirect Water
Creating effective drainage pathways is vital for redirecting water away from vulnerable areas, especially after a flooding incident. By implementing the right drainage techniques, you can minimize damage and promote quicker recovery.
Here are some steps to reflect on:
- Assess the landscape to identify natural slopes.
- Clear debris from existing drainage systems.
- Install trenches or ditches to channel water away.
- Use gravel or perforated pipes to enhance water redirection.
- Regularly maintain your drainage pathways to ensure efficiency.
When to Call in Professionals for Help?
After implementing effective drainage pathways, it’s important to recognize when the situation requires professional assistance.
If you encounter extensive flooding or water damage that exceeds your capacity to manage, don’t hesitate to call in experts. Signs like persistent moisture, structural damage, or an overwhelming musty odor indicate a need for emergency response.
A professional assessment can uncover hidden issues, such as mold or compromised foundations, ensuring your home remains safe and sound.
Additionally, if you’re unsure about the safety of electrical systems or plumbing, it’s wise to consult professionals.
Steps to Prevent Mold Growth After Water Removal
After removing water, it’s essential to control humidity levels in the affected area.
Use dehumidifiers to maintain a relative humidity below 60%.
Additionally, make sure to provide proper ventilation by opening windows and using fans to promote air circulation, which helps prevent mold growth.
Control Humidity Levels
To effectively prevent mold growth, controlling humidity levels in the affected area is vital. High humidity can promote mold spores, so implementing moisture management strategies is key.
Here’s how you can maintain ideal humidity:
- Use dehumidifiers to reduce excess moisture.
- Monitor humidity levels with a hygrometer.
- Keep indoor humidity below 60%.
- Dry wet surfaces within 24-48 hours.
- Seal leaks in walls and ceilings to prevent water intrusion.
These steps not only help in humidity control but also create a healthier living environment.
Taking proactive measures ensures that you and your community can thrive, free from the threat of mold. Remember, a little effort goes a long way in maintaining a safe and welcoming space.
Ensure Proper Ventilation
Controlling humidity levels is only one part of preventing mold growth; ensuring proper ventilation in the affected area is equally important.
Start by using effective ventilation methods to enhance air circulation. Open windows and doors whenever possible to allow fresh air in and damp air out. If the weather doesn’t cooperate, employ fans to boost airflow. Dehumidifiers can also help, but make sure they’re positioned for ideal air circulation.
In enclosed spaces, consider using exhaust fans to directly remove humid air. Regularly check for any blockages in vents or ducts to maintain airflow.
Long-Term Water Prevention Strategies
While you may have dealt with immediate water removal, implementing long-term prevention strategies is vital to safeguard your property. By focusing on proactive measures, you can greatly reduce the risk of future water damage.
Here are some effective strategies:
Install water-resistant materials in vulnerable areas.
Upgrade drainage systems to ensure efficient water flow away from your home.
Implement landscaping solutions that direct rainwater away from your foundation.
Schedule routine maintenance on gutters and downspouts to prevent clogs.
Use sump pumps in flood-prone areas to manage excess water.
These steps create a robust defense against water damage, fostering a safer environment for you and your family.
Prioritizing these strategies shows care for your home and community.
Frequently Asked Questions
What Personal Protective Equipment Should I Wear During Water Removal?
You should wear gloves, boots, and goggles as PPE options during water removal. Follow safety guidelines to protect yourself from contaminants and hazards. Always prioritize your safety while working in potentially dangerous environments.
Can I Use Regular Household Fans for Drying?
Yes, you can use regular household fans, but their fan effectiveness may be limited. For better drying efficiency, consider using high-velocity fans, which circulate air more effectively and speed up the drying process considerably.
How Long Does It Typically Take to Dry Out Water Damage?
Drying out water damage can feel like watching paint dry. Typically, it takes 3 to 7 days, depending on moisture assessment and drying equipment. Staying proactive speeds up the process and restores your space faster.
Is It Safe to Stay in the House During Water Removal?
It’s not always safe to stay during water removal, depending on the conditions. Assess potential hazards, like electrical issues or mold growth. Prioritize your safety; evacuate if staying conditions seem risky or compromised.
What Types of Insurance Cover Water Damage Removal Costs?
Are you covered if disaster strikes? Flood insurance, homeowners’ policies, and renters’ insurance often cover water damage removal costs, but you might need additional coverage. Always check your policy details to ensure you’re protected.
Summary
So, now that you’ve tackled your water woes with all the finesse of a seasoned plumber, you can sit back and admire your handiwork—until the next deluge hits, of course. Remember, you’re not just a water removal expert; you’re a hero in rubber boots. But let’s be real: if you find yourself knee-deep in water again, maybe it’s time to call in the pros. After all, even heroes need a sidekick sometimes.